Microsoft Clip Art Ultimate Guide: Editing, Changing, Drawing & More
Ungroup the Clip Art Graphic
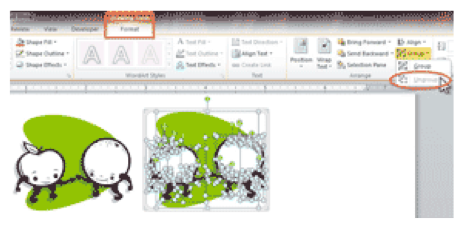
On the right side of the PICTURE TOOLS > FORMAT Tab, click on the GROUP button, and then select UNGROUP. An alert box may appear that says, “This is an imported picture, not a group. Do you want to convert it to a Microsoft Office drawing object?” Click YES.
Occasionally, you need to Ungroup twice.
The image changes into a Drawing Canvas, with all the elements of the Clip Art broken up into tiny pieces. To see this in action, click once inside the frame, then press CTRL-A on the keyboard to SELECT ALL. You now see all the resizing handles for all of the graphic elements. Click outside the box—don’t change anything yet!
Change Clip Art Colors
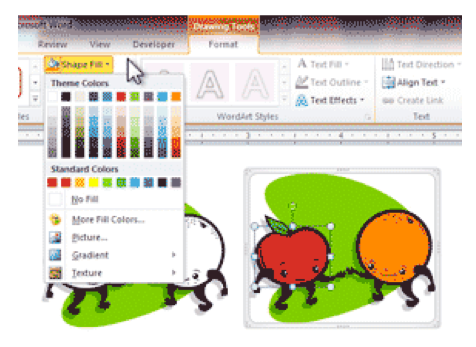
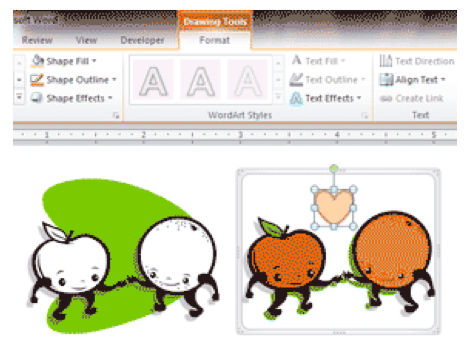
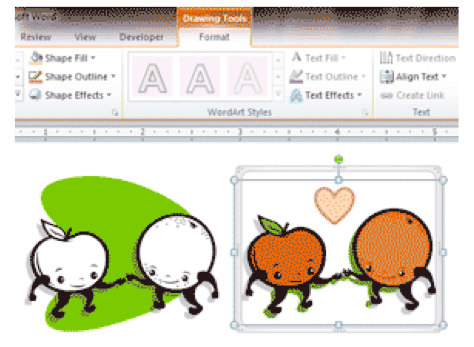
Find an element to recolor. Click on it (it may take several tries to find the right one if there are a lot of overlapping elements), and use the DRAWING TOOLS > SHAPE FILL to change the color.
Delete and Add Microsoft Clip Art Elements
To finish, click anywhere inside the Drawing Canvas and SELECT ALL or CTRL-A again. On the DRAWING TOOLS ribbon, click on GROUP, and then on the GROUP option.
Join Our Microsoft Office Community for More Tips & Resources!



Alicia… my when I click on my clipart item, the Group button is deemed and I can’t click on it…. any thoughts why?
Thanks,
Jacky
Hi Jacky, Not all clip art was created in layers. It has to be simple line art, and vector-based instead of pixel-based.
sadly as Microsoft has changed and there is no ‘clip art’ in the new word, this is totally obsolete.
I miss it too, but fortunately I still have Word 2010 on my computer so I can open it up and do the honors!